Deploy Komodo with Docker Stack
The other day I came across an open source project called Komodo. After looking into a bit more it seems to be an all-in-one platform to build, deploy & manage containerized applications or stacks to any of your servers. Sort of in a similar capacity to Coolify but seems a bit more simplified to deploy yourself.
I am constantly on the lookout for new self-hosted PaaS projects like these I wanted to give it a try & for the most part it was pretty easy. However, I have been using Docker Stack to in place of Docker Compose more lately as I have found it better not just for scalability, but also for rolling updates, failure recovery, etc. So I wanted to see if I could get Komodo working with Docker Stack instead of Docker Compose.
Spoiler: It works, but with a few caveats.
Setting up a server
Now, to get started with this, while you can deploy Komodo locally, I wanted to create a clean slate environment to test all of this on.
I will be using Hetzner but any cloud provider should work as long as your server has Docker installed. In the case of Hetzner you can simply create a new server using the “Docker CE” app for your server image.
Once your server is up & running, SSH into it using the command below. Make sure to replace YOUR_IP_ADDRESS with the actual IP address of your server.
ssh root@YOUR_IP_ADDRESSConfiguring the server
First up, we need to create the directory for Komodo’s Periphery agent to store all of its data. This is done by running the command below:
mkdir -p /etc/komodo/This will create the /etc/komodo/ directory on your server.
With that complete we need to enable Docker Swarm to allow use of the docker stack commands.
You can do this by running:
docker swarm initIf this fails, it may be you need to provide a --advertise-addr flag to the command. This is usually the IP address of your server.
docker swarm init --advertise-addr YOUR_IP_ADDRESSThis will initialize Docker Swarm on your server and allow you to use the docker stack commands.
Create the stack
Now, for the most part everything is going to be based on the default files that Komodo provides us in their documentation.
For the sake of example we’ll be using the SQLite database, however you can use any database you like. Just make sure to follow the instructions in the Komodo documentation for setting up the database of your choice.
Now, if you take the standard compose files Komodo gives you and you try to deploy it with the following command, it will succeed, but the containers will begin to fail to start:
docker stack deploy -c path/to/sqlite.compose.yaml komodoInterval strings
Starting with the first key issue you’ll run into, the interval strings. There are three environment variables where you provide a string defining an interval of some kind, such as 1-sec, 5-sec, 15-sec, etc. These are:
KOMODO_MONITORING_INTERVALKOMODO_RESOURCE_POLL_INTERVALKOMODO_JWT_TTL
If you check the logs of the stack you just deployed you will see an error message along the lines of:
Error {
    context: "failed to parse core Env",
    context: "failed to parse core Env",
    source: Custom(
    source: Custom(
        "unknown variant `\"1-day\"`, expected one of `1-sec`, `5-sec`, `10-sec`, `15-sec`, `30-sec`, `1-min`, `2-min`, `5-min`, `10-min`, `15-min`, `30-min`, `1-hr`, `2-hr`, `6-hr`, `8-hr`, `12-hr`, `1-day`, `3-day`, `1-wk`, `2-wk`, `30-day`",
        "unknown variant `\"1-day\"`, expected one of `1-sec`, `5-sec`, `10-sec`, `15-sec`, `30-sec`, `1-min`, `2-min`, `5-min`, `10-min`, `15-min`, `30-min`, `1-hr`, `2-hr`, `6-hr`, `8-hr`, `12-hr`, `1-day`, `3-day`, `1-wk`, `2-wk`, `30-day`",
    ),
    ),
}
If we analyze the error a bit more it seems that this is an issue with both Komodo & Docker Stack. Komodo does not seem to be handle parsing serialized strings correctly when parsing the config. And with Docker Stack, it should not be passing the environment variables from your compose.env file as serialized strings.
To get around this, simply move the three environment variables above from your compose.env file into your sqlite.compose.yaml file instead. This will allow Komodo to read the environment variables correctly.
services:
    core:
        environment:
            KOMODO_MONITORING_INTERVAL: 15-sec
            KOMODO_RESOURCE_POLL_INTERVAL: 5-min
            KOMODO_JWT_TTL: 1-day
    # ...
I have gone ahead and opened an issue with Komodo for this, though if I get time I may look into making a pull request myself to fix it. Though I’ll need to remind myself how to use Rust since it’s been a while.
Periphery passkey
Next up, if you deploy the stack with those interval strings fixed the Komodo core server should start and work now. Great!
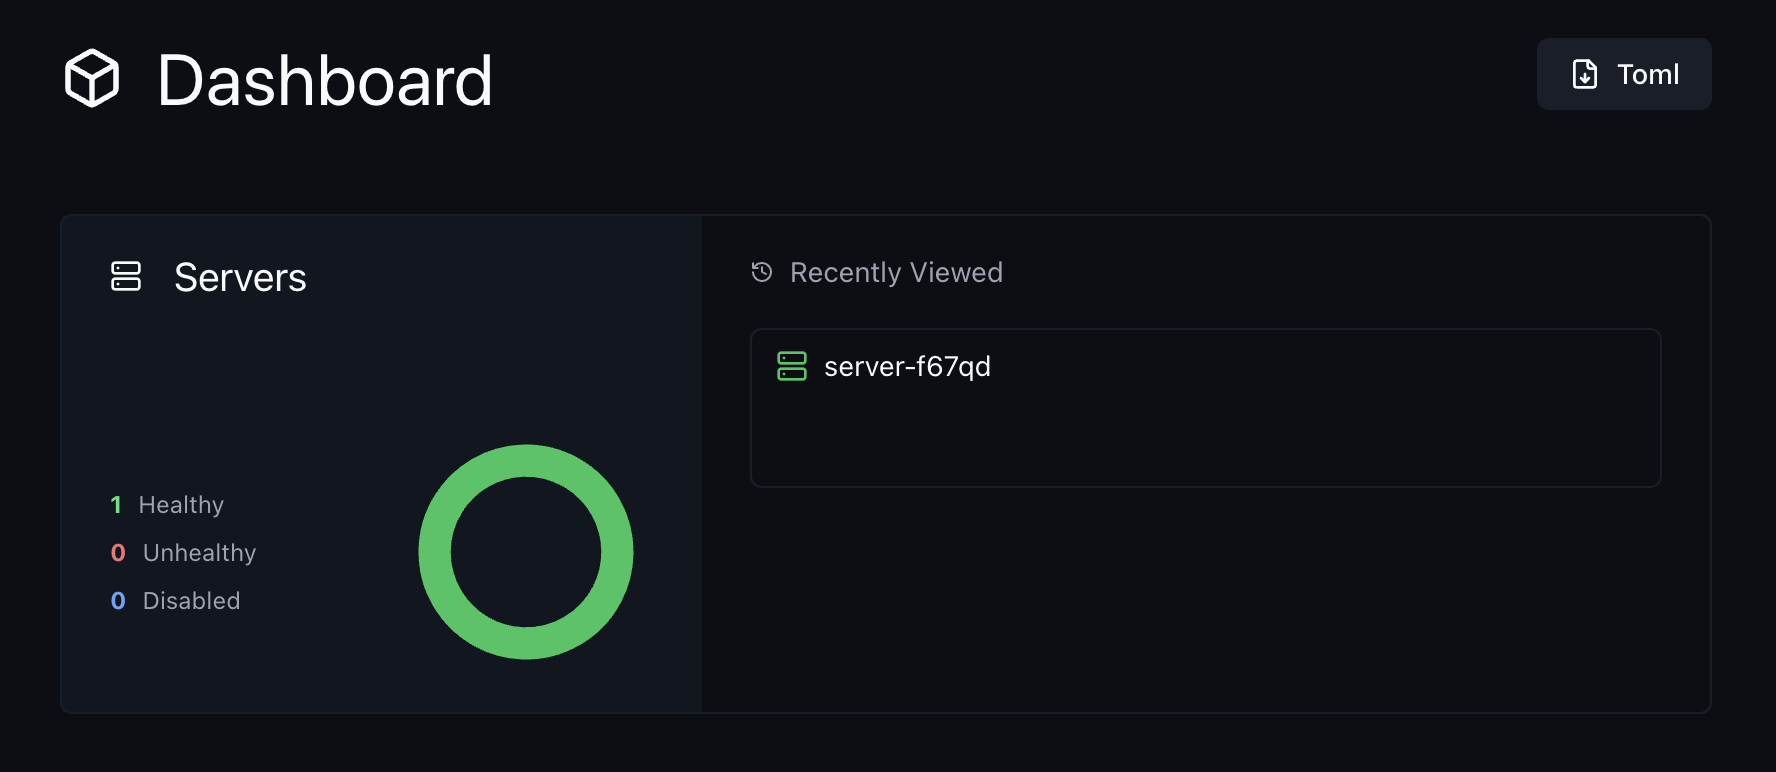
However, if you navigate to http://YOUR_IP_ADDRESS:9120 in your browser & log in to the dashboard, you will see that the server is “not ok”.

If you click the exclamation mark button in the top right and then click on the ServerUnreachable error, it will open a modal showing something like this:
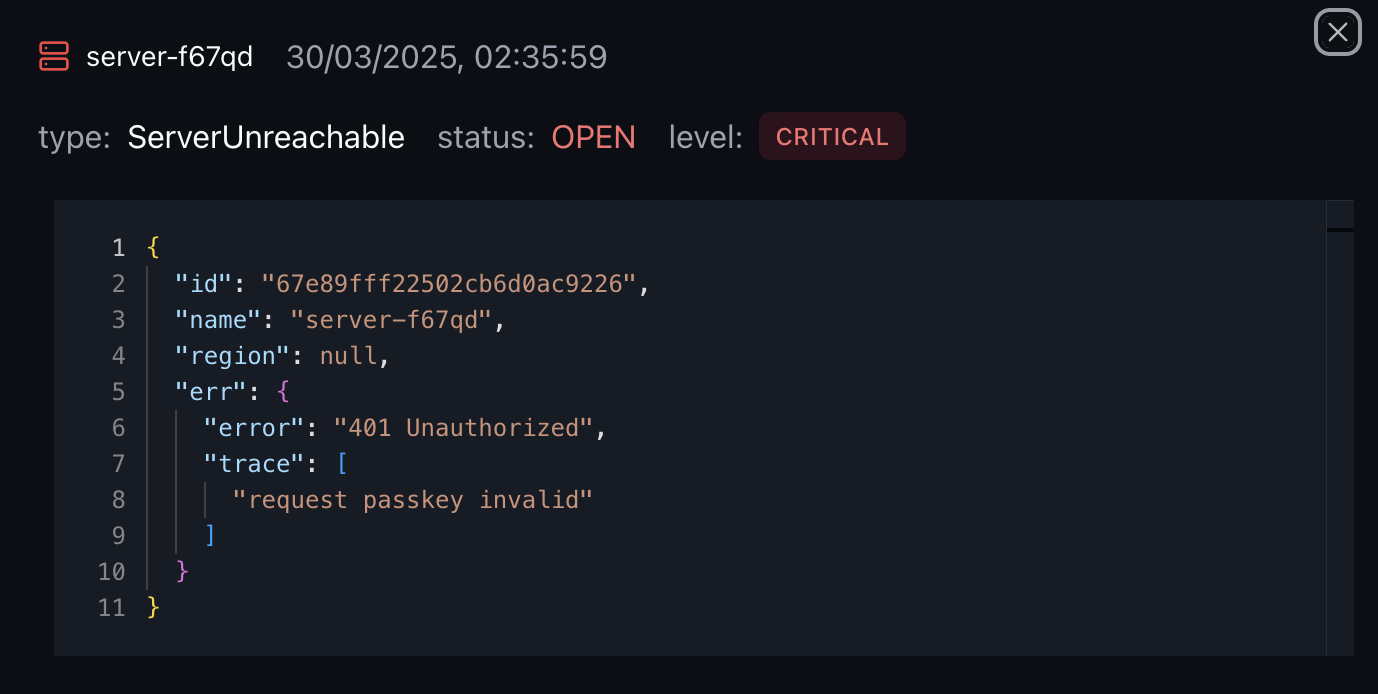
This is because the Periphery agent does not have access to the Komodo passkey defined in compose.env. Again, another little environment variable issue.
The default value of PERIPHERY_PASSKEYS in the compose.env file is: ${KOMODO_PASSKEY}. This just means that the PERIPHERY_PASSKEYS should be set to whatever the value of KOMODO_PASSKEY is. However, for a reason I don’t quite know & have yet to look more into, it seems Docker Stack when using a dedicated env file does not resolve references like this.
So, just like before with the interval strings, you need to move this environment variable from your compose.env file into your sqlite.compose.yaml file instead.
services:
  periphery:
	environment:
	  PERIPHERY_PASSKEYS: ${KOMODO_PASSKEY}
	# ...
Re-deploy the stack
And that should be it! You can now re-run the docker stack deploy command to re-deploy the stack with the changes we made.
docker stack deploy -c path/to/sqlite.compose.yaml komodoOnce again, you can now visit http://YOUR_IP_ADDRESS:9120 in your browser and see the Komodo dashboard. Except this time the server should be “ok” and you can now start deploying your containers.
And just like that, you’re good to go! You now have Komodo up and running on your server using Docker Stack.
Bonus: Deployment configuration
As an added bonus, if you want to configure Komodo to with some extra options, you can do so by adding the following to your sqlite.compose.yaml file:
services:
    core:
        deploy:
            # Prevent Komodo from stopping with StopAllContainers
            labels:
                komodo.skip:

            # Only run 1 instance of the container at a time
            replicas: 1

            # Restart the container if it fails
            restart_policy:
                condition: on-failure

            # Enable rolling updates so the new container
            # is started before the old one is stopped
            update_config:
                order: start-first
                parallelism: 1
                delay: 2s
        image: ghcr.io/moghtech/komodo-core:${COMPOSE_KOMODO_IMAGE_TAG:-latest}
        # ...
Conclusion
Checking the current Komodo roadmap, it seems like there is plans to support Docker Swarm support & I hope part of that includes deploying Komodo itself with Docker Swarm / Stack so in future this post will no longer be needed.
But in the mean time I am happy to share these details for others who are looking to deploy Komodo using Docker Stack, but running into the same issues I did.